Introduction
Learn how to configure CRM automations to create or update contacts, apply keywords or send SMS messages to contacts in Project Broadcast.
Step-by-Step Guide
Step 1: Open the Automations Panel
- In your Oh My Hi dashboard, go to CRM.
- Click on Automations.
- Choose Create from scratch to start a new automation.
Step 2: Set the Trigger
- Choose a trigger — either Tag Applied or Form Submission depending on your use case.
- Pick the tag or form you want to use (e.g.,
PB add keywordor your lead capture form). - If you want contacts to be able to go through the automation multiple times, we recommend using the Form Submission trigger and enabling the restart option
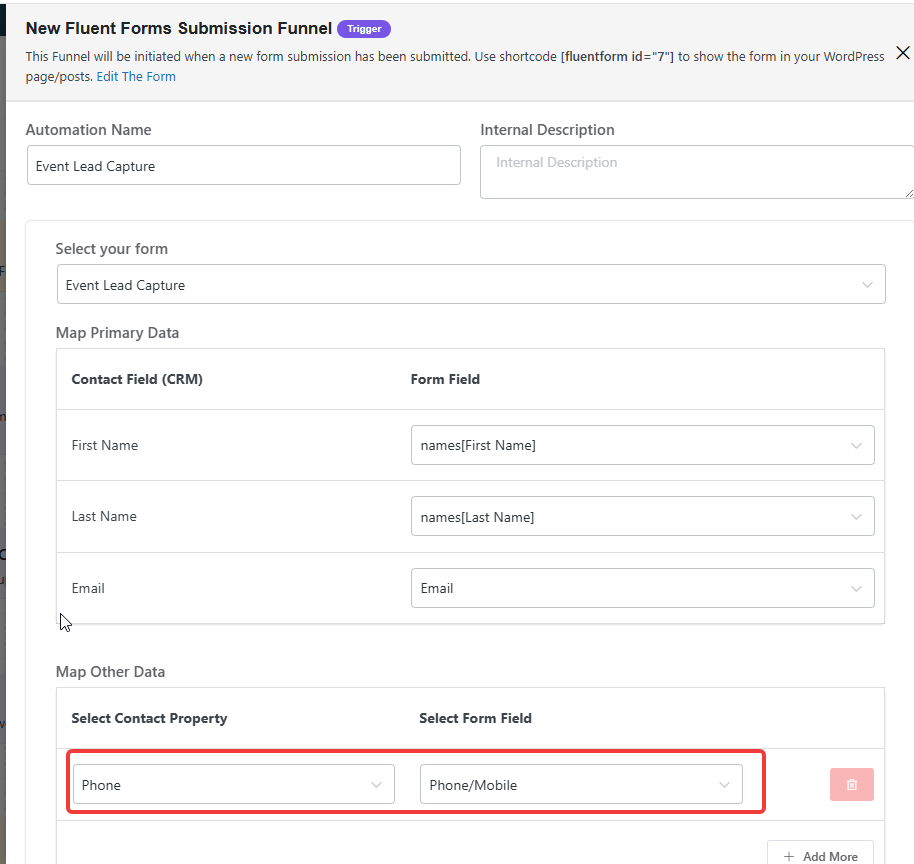
⚠️ If using Form Submission, make sure your contact fields are mapped before saving. At minimum, map First Name, Last Name, Email and phone number under Map Primary Data. Unmapped fields won’t be included in this automation.
Step 3: Add an Action for Project Broadcast
- Click Add Action.
- Scroll to find Project Broadcast.
- Choose Create/Update Contact.
- Make sure Phone Number is selected (it’s required for creating contacts in Project Broadcast).
- Leave other fields selected unless you have a reason to limit them.
Step 4: (Optional) Apply a Keyword
If you’ve set up keywords in Project Broadcast (for auto-responses or campaigns):
- Add another action: Add Keyword.
- Select a keyword you’ve synced (e.g.,
Jeremy test). Note: If you don’t see your keywords, complete the Project Broadcast setup first and fetch them.
Step 5: (Optional) Send a Text Message
Want to send a message right away?
- Add another action: Send SMS Message.
- Write your message (e.g., “Hi [First Name], welcome!”).
- Use the personalization token to insert their name.
Step 6: (Optional) Create a Sequence
- After the first message, add a Wait action (e.g., wait 2 days).
- Then add another Send SMS Message to continue the conversation.
Step 7: Publish Your Automation
Once everything is set up the way you want:
- Click Publish.
- Your automation is now live and will run whenever the trigger happens.
Wrap-Up
Now you’ve built a smart automation that connects your CRM to Project Broadcast. You can add contacts, apply keywords, and send personalized text messages — all hands-free.